Table of Contents
ToggleNot all houseplants respond the same way to coffee grounds. Some thrive with a dose of leftover grounds from the morning brew, while others will sulk and yellow. The difference comes down to soil chemistry, specifically pH levels and nutrient needs. Coffee grounds are acidic, nitrogen-rich, and full of organic matter, making them a solid amendment for certain species. But dumping yesterday’s filter into every pot is a fast track to unhappy plants. This guide covers which houseplants actually benefit from coffee grounds, how to apply them correctly, and the common mistakes that turn a helpful amendment into a root-rotting mess.
Key Takeaways
- Coffee grounds work best for acid-loving houseplants like African violets, ferns, and philodendrons, providing nitrogen, organic matter, and maintaining slightly acidic soil conditions.
- Apply coffee grounds sparingly using thin layers (1/8 to 1/4 inch) on soil surfaces or mixed into potting soil at a 1:4 ratio to avoid compaction and water-resistant crusts.
- Always use dry, spent grounds from brewed coffee rather than fresh grounds, and allow them to dry completely before application to prevent mold growth.
- Avoid using coffee grounds on plants that prefer neutral to alkaline soil, such as succulents, snake plants, and pothos, as they can lock out essential nutrients and cause yellowing.
- Monitor soil pH every few months with a simple test kit, as repeated coffee ground applications can gradually lower pH beyond your plant’s preferred range and require adjustment.
Why Coffee Grounds Work Wonders for Certain Houseplants
Coffee grounds bring three main benefits to the right plants: acidity, nitrogen, and organic matter. Spent coffee grounds have a pH of about 6.5 to 6.8, which is mildly acidic. Fresh grounds are more acidic (around 5.0), but most people use brewed grounds, which have already released much of their acidity into the coffee itself.
The nitrogen content in used coffee grounds sits around 2% by weight, making them a slow-release nitrogen source. Nitrogen drives leafy, green growth, critical for foliage plants. As the grounds break down, microbes in the soil convert that nitrogen into a form plants can absorb.
Coffee grounds also improve soil structure. They add organic matter that loosens compacted potting mix, improves water retention, and feeds beneficial microbes. In containers, where soil doesn’t refresh itself like garden beds, this organic boost helps maintain healthy root zones over time.
Not every plant wants acidic conditions, though. Many common houseplants prefer neutral to slightly alkaline soil. Adding coffee grounds to a pothos, snake plant, or succulent can lower pH too much and lock out nutrients like calcium and magnesium. When gardeners experience slow growth or nutrient deficiencies, it’s often because they’ve mismatched amendments with plant needs.
Stick with acid-loving species, and coffee grounds become a practical, no-cost fertilizer. Use them on the wrong plants, and they’ll do more harm than good.
Best Houseplants That Thrive with Coffee Grounds
Acid-Loving Foliage Plants
These species naturally grow in acidic environments and respond well to coffee grounds worked into their potting mix.
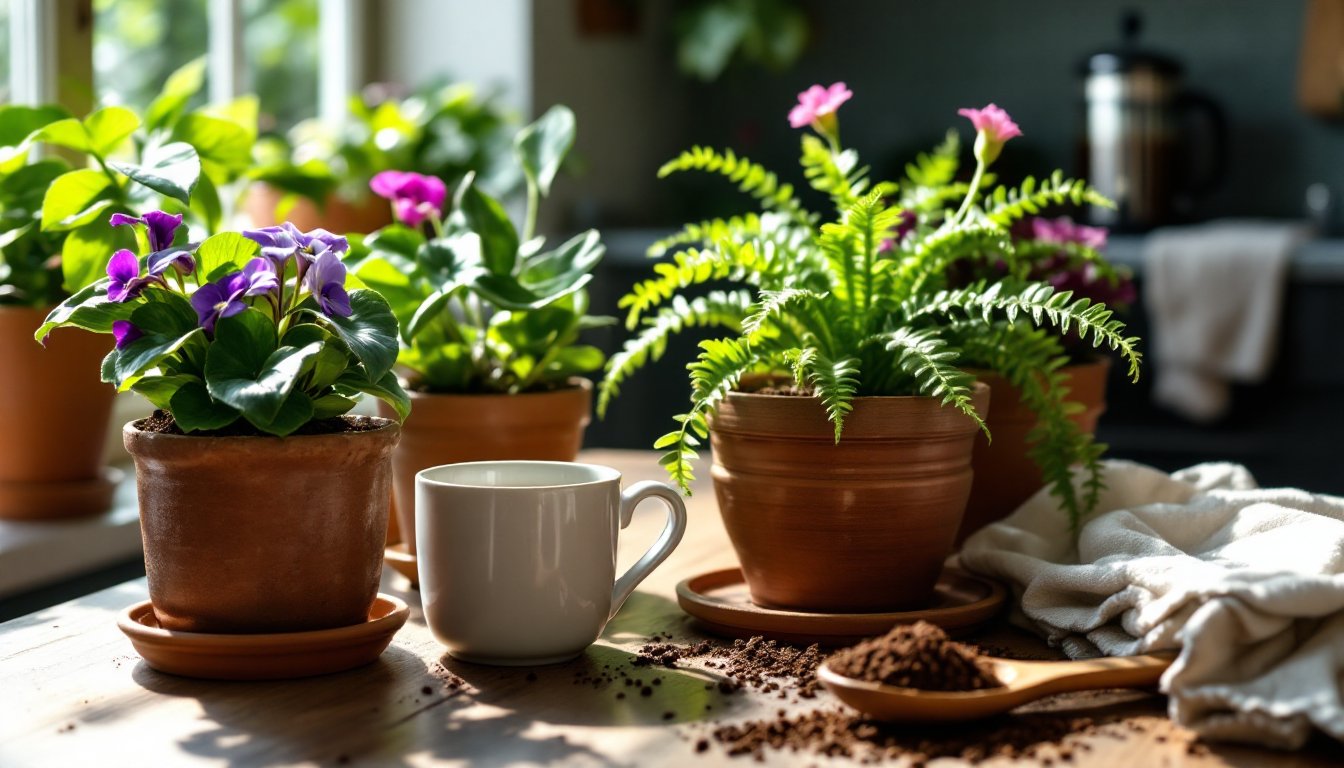
African violets (Saintpaulia) prefer soil pH between 6.0 and 6.5. A light top-dressing of coffee grounds every few months keeps the mix slightly acidic and adds nitrogen for lush foliage. Don’t overdo it, these plants are sensitive to excess salts, and coffee grounds can introduce some if applied too heavily.
Ferns, especially Boston ferns and maidenhair ferns, love moisture and slightly acidic soil. Coffee grounds improve water retention and provide slow-release nutrients. Mix them into the top inch of soil or add a thin layer as mulch. Ferns grow in forest understories where organic matter breaks down constantly, so they’re adapted to this kind of feeding.
Philodendrons tolerate a range of pH but grow best in slightly acidic conditions (around 6.0 to 7.0). A sprinkling of grounds every month or two supports vigorous growth without the need for synthetic fertilizers. Philodendrons are forgiving, but avoid letting grounds clump or form a crust on the soil surface.
Jade plants and Christmas cacti are mild acid-lovers. While they don’t need coffee grounds, a small amount mixed into the potting medium can help lower pH in regions with alkaline water. Use sparingly, succulents and cacti prefer lean soil, and too much organic matter holds moisture they don’t need.
Flowering Houseplants That Benefit from Coffee
Azaleas and gardenias are classic acid-lovers often grown indoors in containers. They require soil pH between 5.0 and 6.0 to access iron and other micronutrients. Coffee grounds help maintain that acidity, especially if your tap water is hard or alkaline. Apply a 1/4-inch layer around the base every four to six weeks during the growing season.
Hydrangeas grown as houseplants (usually Hydrangea macrophylla) change flower color based on soil pH. Acidic soil (below 6.0) produces blue blooms: alkaline soil shifts them pink. If aiming for blue flowers, incorporating coffee grounds into the potting mix is one way to nudge the pH down. This practice is widely used in outdoor gardening as well.
Begonias, particularly the tuberous and rhizomatous types, prefer slightly acidic soil and benefit from the nitrogen boost coffee grounds provide. They’re heavy feeders during the growing season, and coffee grounds supplement regular fertilization without the risk of chemical burn.
Orchids (especially terrestrial varieties like Paphiopedilum) can handle a small amount of coffee grounds mixed into bark-based media. Epiphytic orchids like Phalaenopsis are trickier, use grounds sparingly and only if the potting mix is well-draining. Orchids are sensitive to salts, so moderation is critical.
How to Properly Apply Coffee Grounds to Your Indoor Plants
Used coffee grounds work best when applied in thin layers or mixed into potting soil, not dumped in thick clumps.
Top-dressing method: Sprinkle a 1/8- to 1/4-inch layer of dry, used grounds on the soil surface. Lightly scratch them into the top half-inch with a fork or your fingers, then water thoroughly. This distributes the grounds and starts the breakdown process. Repeat every four to six weeks during the growing season (spring through early fall).
Mixed into potting soil: When repotting, blend coffee grounds into the new mix at a ratio of 1 part grounds to 4 parts potting soil. This ensures even distribution and prevents compaction. Let the plant settle in before watering, grounds can hold moisture, and overwatering freshly potted plants is a common mistake.
Compost integration: The best way to use coffee grounds is to compost them first. This breaks down the organic matter, stabilizes the pH, and eliminates any risk of mold or compaction. If you compost kitchen scraps, add coffee grounds to the bin. After a few weeks, the finished compost can be mixed into potting soil at higher ratios without issue.
Liquid fertilizer: Steep used grounds in water for 24 hours (about 1 cup grounds per gallon of water), then strain and use the liquid as a mild fertilizer. This “coffee tea” is gentle and won’t compact the soil. Use it once a month in place of regular watering. The nutrient concentration is low, so it won’t burn roots.
Dry before use: Always let used coffee grounds dry out before applying them. Wet grounds clump, form a dense mat, and can develop mold. Spread them on a tray or newspaper for a day or two until completely dry. Store in an airtight container if not using immediately.
Never apply grounds to dry soil. Water the plant first, then add the grounds. This prevents hydrophobic layers from forming, which can repel water and create dry pockets in the root zone.
Common Mistakes to Avoid When Using Coffee Grounds
Using too much at once. A thick layer of coffee grounds forms a water-resistant crust that sheds moisture instead of absorbing it. Stick to thin applications, 1/4 inch maximum. More isn’t better.
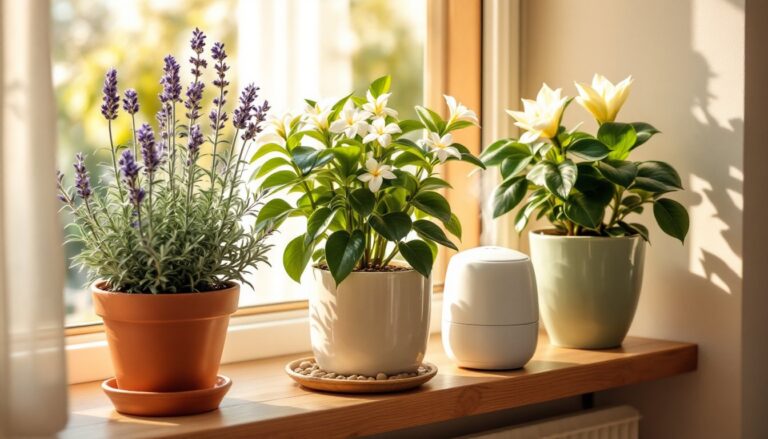
Adding grounds to plants that prefer alkaline soil. Lavender, rosemary, and most succulents hate acidic conditions. Coffee grounds will lower pH and stress these plants. If foliage yellows or growth slows after adding grounds, check the plant’s preferred pH range.
Ignoring mold growth. Wet coffee grounds left on the soil surface can mold quickly, especially in low-light or poorly ventilated rooms. If white or green mold appears, scrape off the grounds and improve airflow around the plant. Dry grounds before application to reduce this risk.
Mixing fresh grounds instead of used. Fresh coffee grounds are more acidic and contain oils and caffeine that can inhibit plant growth. Always use spent grounds from brewed coffee. The brewing process leaches out most of the problematic compounds.
Forgetting to monitor soil pH. Over time, repeated applications of coffee grounds can lower pH more than intended. Test soil pH every few months with a simple pH meter or test kit (available at garden centers for under $15). If pH drops below the plant’s preferred range, flush the soil with water or add a small amount of lime to raise it.
Not composting first. Raw coffee grounds take time to break down. In containers with limited microbial activity, they can sit inert or even tie up nitrogen as they decompose. Composting grounds first ensures nutrients are readily available and won’t cause short-term nitrogen depletion.
Overwatering after application. Coffee grounds increase moisture retention. If you don’t adjust watering habits, roots can stay too wet and develop rot. After adding grounds, check soil moisture more frequently and water only when the top inch feels dry.
Many of these common houseplant care mistakes apply to fertilizers and amendments in general, coffee grounds aren’t unique. The key is moderation, observation, and matching the amendment to the plant’s actual needs.
Conclusion
Coffee grounds are a practical, free amendment for acid-loving houseplants, not a cure-all. Applied correctly in small amounts, they provide nitrogen, improve soil structure, and help maintain the low pH certain species need. But they’re not a substitute for balanced fertilization, proper watering, or good potting mix. Match the amendment to the plant, monitor results, and adjust as needed. That’s how you keep plants healthy without spending a dime on synthetic fertilizers.