Table of Contents
ToggleIndoor plants need light to photosynthesize, but most homes don’t provide enough natural brightness, especially in winter or rooms with north-facing windows. A grow lamp bridges that gap, delivering the spectrum and intensity plants need to grow strong, flower, and fruit. It’s not just for hobbyist horticulturists anymore: anyone growing herbs in a basement or keeping a fiddle-leaf fig alive in a dim corner can benefit. This guide walks through why grow lamps work, which types make sense for different setups, and how to use them without frying foliage or wasting electricity.
Key Takeaways
- A grow lamp for indoor plants replicates the sun’s spectrum and intensity, enabling plants to photosynthesize and thrive in low-light environments like basements or rooms with north-facing windows.
- LED grow lights are the most energy-efficient option, drawing 20–50 watts while replacing 150-watt HID bulbs and running cool enough to mount 6–12 inches from foliage without causing damage.
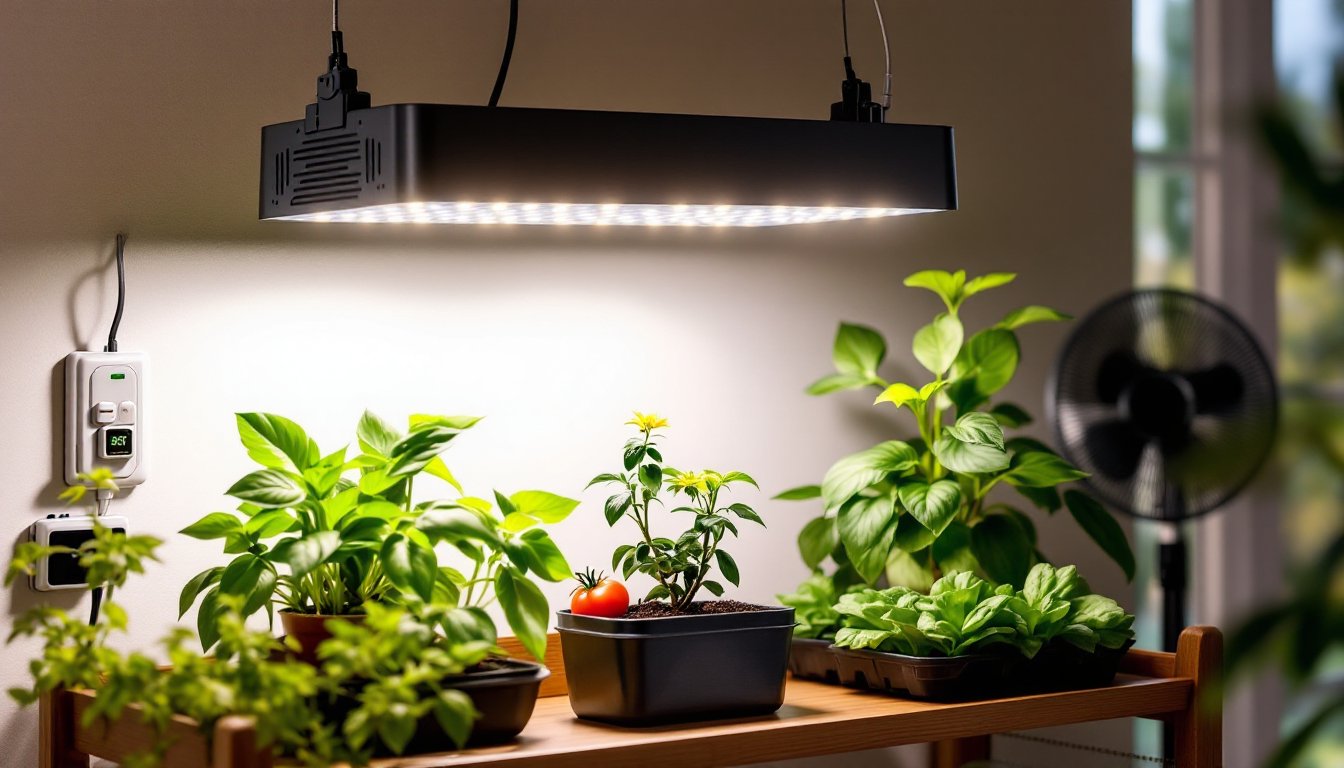
- Position your grow lamp 12–18 inches above the plant canopy and set a 14–16 hour daily photoperiod; plants need darkness for respiration, so avoid running lights 24/7.
- Check the PPFD (photosynthetic photon flux density) rating in μmol/m²/s rather than marketing claims—leafy greens need 200–400 and flowering plants need 400–600+ for optimal growth.
- Combine your grow lamp with proper watering, balanced fertilizer, and ventilation; light alone won’t overcome poor soil or inconsistent care routines.
Why Your Indoor Plants Need Grow Lamps
Natural sunlight delivers a full spectrum of wavelengths, from ultraviolet to infrared. Indoor environments filter, block, or redirect most of that light, windows reduce intensity by 50% or more, and glass blocks UV entirely. Plants evolved to use specific wavelengths: blue light (400–500 nm) drives vegetative growth and compact foliage, while red light (600–700 nm) triggers flowering and fruiting.
Without adequate light, plants stretch toward windows (etiolation), drop leaves, or fail to produce new growth. Low-light tolerant species like pothos or snake plants survive, but they won’t thrive. High-light plants, tomatoes, peppers, succulents, citrus, simply can’t make it indoors without supplemental lighting.
Grow lamps replicate the sun’s usable spectrum at controllable intensities. They let you extend day length in winter, support seedlings before transplant, or grow edibles year-round in spaces with zero natural light. The technology has improved dramatically in the last decade: modern LEDs run cooler, last longer, and cost less to operate than older fluorescent or HID systems.
If you’re seeing pale new leaves, slow growth, or leggy stems even though regular watering and feeding, insufficient light is usually the culprit. A properly chosen grow lamp often solves the problem within weeks.
Types of Grow Lamps and How They Work
LED Grow Lights: Energy-Efficient and Versatile
LED (light-emitting diode) grow lights have become the default choice for most indoor gardeners. They produce targeted wavelengths, typically a mix of blue, red, and sometimes white or far-red diodes, without wasting energy on heat or non-photosynthetic spectra. A quality LED panel draws 20–50 watts and can replace a 150-watt HID bulb, cutting electricity costs by 60% or more.
LEDs run cool enough to mount close to foliage (often 6–12 inches) without scorching leaves, which is critical in tight spaces like grow tents or shelving units. Lifespan averages 50,000 hours, roughly six years of 24-hour operation, so you won’t be swapping bulbs every season.
Full-spectrum white LEDs mimic sunlight and work well for mixed plantings or decorative setups where purple “blurple” diodes look unnatural. Targeted red-blue panels maximize efficiency for dedicated grow areas but cast an odd glow that some find unappealing in living spaces. Many indoor plant setups now use adjustable-spectrum LEDs that let you dial in blue-heavy light for seedlings and red-heavy for flowering.
Look for fixtures with a photosynthetic photon flux density (PPFD) rating, measured in micromoles per square meter per second (μmol/m²/s). Leafy greens need around 200–400 μmol/m²/s: flowering plants want 400–600+. Cheap Amazon panels often overstate wattage and underdeliver actual output, so check third-party PAR meter tests if possible.
Fluorescent and CFL Options for Budget-Conscious Gardeners
Fluorescent tubes (T5, T8) and compact fluorescent lamps (CFLs) remain viable for small-scale or budget setups. A four-foot T5 fixture with high-output bulbs costs $40–$80 and works well for seed starting, microgreens, or low-to-moderate light houseplants.
T5 bulbs emit a broad spectrum with decent blue content, making them ideal for vegetative growth. They’re cooler than incandescent but warmer than LEDs, so mount them 6–12 inches above foliage and monitor for heat stress. Bulb life averages 20,000 hours, and output degrades noticeably after the first year, plan to replace annually for best results.
CFLs screw into standard sockets and work for single-plant or desktop setups. A 23-watt CFL (100-watt equivalent) provides enough light for one small plant within a few inches. They’re inefficient compared to LEDs and generate more heat per lumen, but upfront cost is low and you can repurpose household fixtures.
Fluorescent options make sense for hobbyists testing the waters or growing low-light species like herbs and lettuce. For anything more demanding, peppers, cannabis, orchids, LED efficiency pays for itself within a year of operation.
Choosing the Right Grow Lamp for Your Indoor Garden
Start by identifying your plants’ light requirements. Consult seed packets, plant tags, or extension service guides, these typically classify needs as low (1,000–2,500 lux), medium (2,500–10,000 lux), or high (10,000+ lux). Convert lux to PPFD if you’re comparing technical specs, but rough categories work for most applications.
Next, measure your growing area. A single shelf under a kitchen cabinet needs a different fixture than a 4×4-foot grow tent. Coverage area and PPFD drop off sharply at the edges of most panels, so size up if you’re filling a space wall-to-wall. A 100-watt LED panel typically covers 2×2 feet for high-light crops or 3×3 feet for greens.
Fixture form factor matters. Hanging panels suit tents and basements: clamp lamps work for individual pots on desks: strip lights mount under shelves for seed trays. Many home gardening enthusiasts use adjustable-height pulley systems to raise lights as plants grow.
Spectrum choice depends on plant stage and aesthetics. Full-spectrum white LEDs integrate into living spaces without looking like a grow op. Red-blue panels maximize photosynthetic efficiency but cast a magenta hue, fine for a garage, awkward in a dining room. Some fixtures include switches to toggle veg (blue-heavy) and bloom (red-heavy) modes.
Check for dimming and timer compatibility. Many modern LEDs include onboard dimmers or accept external controls, letting you fine-tune intensity and automate photoperiods. A basic plug timer costs $10 and prevents you from forgetting to turn lights on or off.
Budget $50–$150 for a quality LED panel suitable for a small-to-medium setup. Cheaper units often use low-bin diodes, lack proper heat sinks, or fail within months. Mid-tier brands like Spider Farmer, Mars Hydro, or Viparspectra balance cost and performance: premium options like HLG or Gavita offer top-bin Samsung or Osram diodes with extended warranties.
How to Set Up and Use Your Grow Lamp Effectively
1. Position the lamp at the correct height. Start 12–18 inches above the canopy for most LEDs, closer for low-wattage or fluorescent fixtures. Monitor plants daily, if leaves bleach or curl, raise the light: if stems stretch, lower it. Seedlings tolerate closer placement: mature flowering plants often need more distance to prevent light burn.
2. Set an appropriate photoperiod. Most vegetables and herbs thrive on 14–16 hours of light per day. Leafy greens can handle up to 18 hours. Flowering plants like tomatoes and peppers need 12–14 hours: some species require distinct day/night cycles to trigger blooms. Use a timer to maintain consistency, irregular schedules stress plants and reduce yields.
3. Supplement, don’t replace, natural light when possible. If a room gets four hours of weak winter sun, run the grow lamp for another 10–12 hours rather than blocking the window. Free photons still count, and natural sunlight delivers spectra LEDs can’t fully replicate.
4. Rotate plants weekly. Light intensity drops at fixture edges, so swap positions to ensure even growth. This is especially important with single-panel setups over multiple plants.
5. Manage heat and ventilation. LEDs run cool, but any lamp adds heat to a sealed space. A small clip fan improves air circulation, strengthens stems, and prevents mold. In tents or closets, an exhaust fan may be necessary to vent excess heat and humidity.
6. Monitor and adjust. Watch new growth, it should be vibrant, compact, and appropriately colored for the species. Pale leaves often indicate too much light or nutrient deficiency: dark, stretching growth suggests insufficient intensity. Keep a log of settings, especially if experimenting with timers or dimmers.
Many DIY growers build custom shelving with integrated LED strips, using wire racks, chain, and S-hooks to create adjustable multi-tier gardens. Total material cost runs $100–$200 for a four-shelf unit that supports dozens of plants.
Common Mistakes to Avoid with Indoor Grow Lamps
Running lights 24/7. Plants need a dark period to complete respiration and metabolic processes. Even fast-growing greens benefit from at least six hours of darkness per day. Exceptions exist, some commercial lettuce operations run continuous light, but home gardeners rarely need that intensity.
Ignoring spectrum. A “grow light” marketed for plants might just be a standard LED bulb tinted purple. Check for actual PPFD or PAR output data, not marketing claims about “full spectrum” or “equivalent wattage.” If the manufacturer doesn’t publish photometric data, assume it’s underperforming.
Placing lamps too far away. Light intensity follows the inverse-square law, doubling the distance quarters the intensity. A fixture rated for 500 μmol/m²/s at 12 inches delivers only 125 μmol/m²/s at 24 inches. Keep lamps close, especially with lower-wattage units.
Forgetting to clean fixtures. Dust and grime accumulate on lenses and diodes, reducing output by 20–30% over months. Wipe panels monthly with a dry microfiber cloth (power off first).
Neglecting the rest of the equation. Light alone won’t fix poor soil, inconsistent watering, or inadequate nutrients. Grow lamps maximize photosynthesis, but plants still need balanced fertility, proper drainage, and appropriate temperatures. If you’re adding 600 μmol/m²/s of light, you’ll also need to increase watering frequency and fertilizer strength to match accelerated growth.
Mixing incompatible plants under one fixture. A basil plant thriving at 14 hours and high intensity will outcompete a shade-loving fern. Group plants with similar light needs or use adjustable fixtures with multiple zones.
A well-chosen grow lamp transforms indoor gardening from marginal survival to genuine productivity. Set it up correctly, adjust as plants respond, and you’ll harvest fresh herbs in January or keep tropicals thriving in a Chicago basement.